. . . my true love gave to me: knitted bead wrap bracelets!
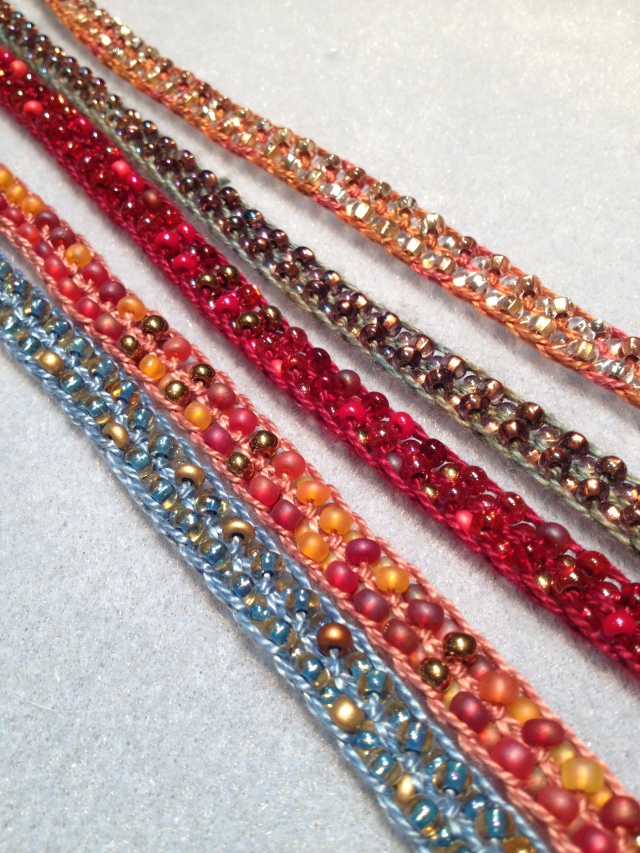
Okay now before you get all wigged out, let me just tell you that you are going to see pictures of all different ones of these I have made in the last year or two here as illustrations. I wanted to get this post up, so I took pics of some that were already finished, some in progress and some I just started. So you’ll see all different colors. You can also go to my Etsy store and see the ones I have up for sale.
I started making these bracelets when I had so many schnibblets of fine fibers left over from big lace projects. A schnibblet is a highly technical knitting term that I made up that refers to a small ball of yarn too little for any real project and too big to throw away. So what could I do with the schnibblets? This is what I came up with
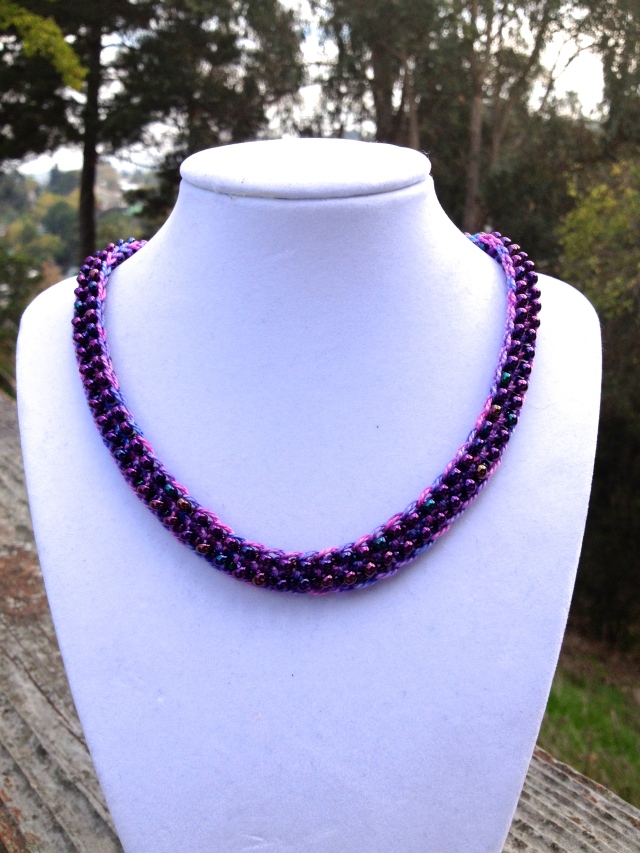
As you can see, this “bracelet” – long enough to wrap around the wrist three times – can also be worn as a necklace. It is a simple knitting project that anyone who knows how to cast on and off and make a knit stitch can do.
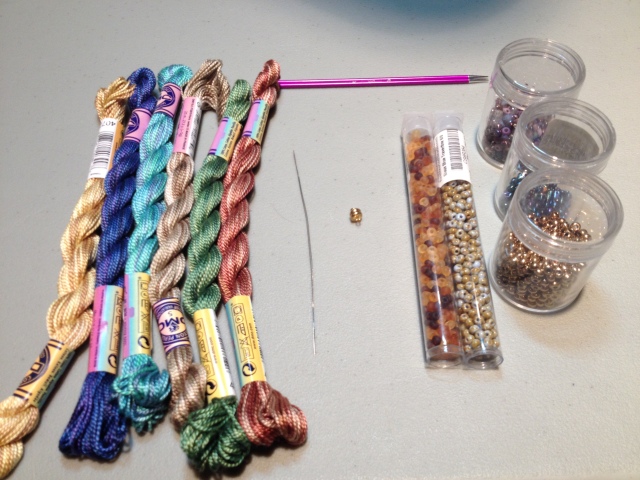
What you will need for the project:
1 schnibblet – If you do not have a proper schnibblet, go to your local craft store and purchase a single skein of DMC Perle Cotton 5, pictured below. Do not substitute DMC embroidery floss as its 6 separate strands make knitting it difficult
2 20 gram tubes of size 6 seed beads (bead mixes work nice for this one)
big eye needle
magnetic clasp
size US 1.5 knitting needles, preferably metal (DPNS work well)
scissors, sewing needle, dab of hypo cement
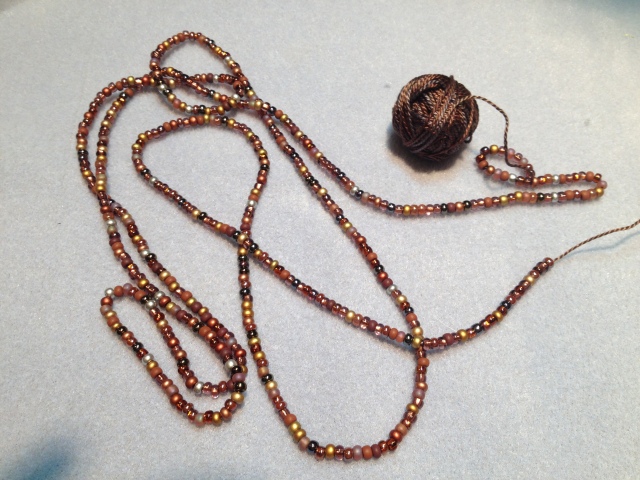
1. Wind the schnibblet into a ball. Use the big eye needle to string all the seed beads onto the schnibblet.
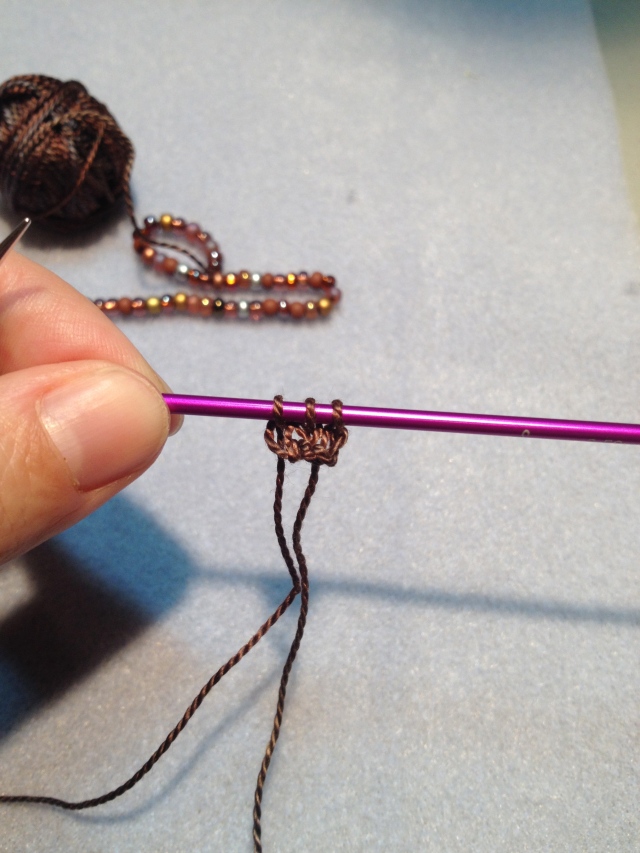
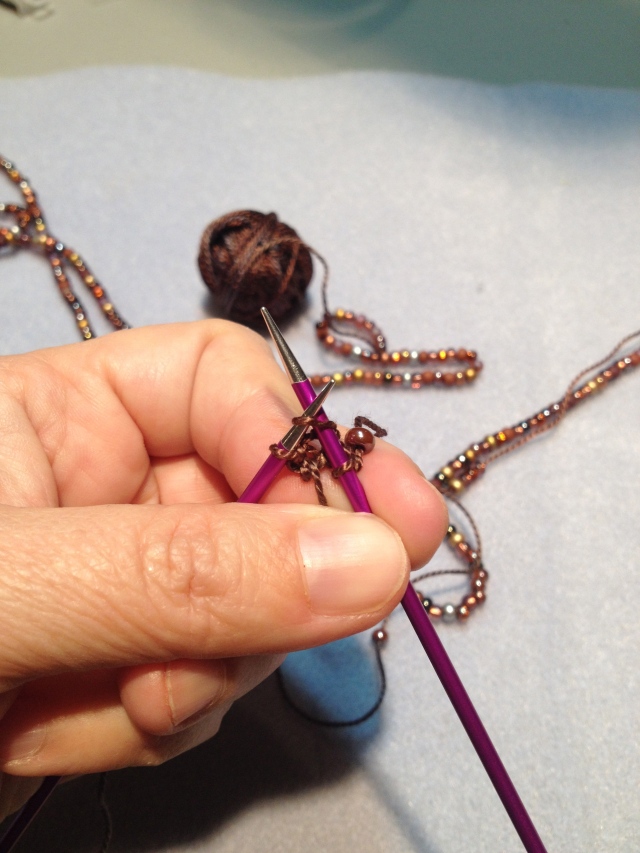
2. Leaving a 6 to 8 inch tail, cast on 3 stitches. Knit one row.
3. Begin bracelet: Slip first stitch as if to purl with yarn in front; *insert right needle into next stitch as if to knit, slide up one bead, knit stitch.* Repeat between * and *.
4. Repeat step 3 until all the beads have been used up or you have reached a length you like.
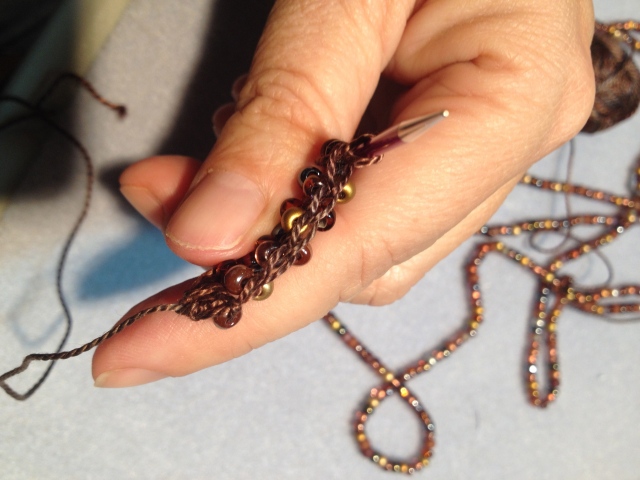
You want to be sure to slip the first stitch of every row as if to purl with yarn in front so that you get a nice, smooth edge to your bracelet. It will look like a braid:
But if you are a brand-new knitter and this seems to hard, you can just knit the first stitch with no bead. But this will give you a different edge – pretty on its own, but different.
As you can see from the above picture, your bracelet will look like a zig-zag from the side. That’s what you want. As you get some length to it, tug down on the completed part every now and then to smooth it out a bit and get it even.
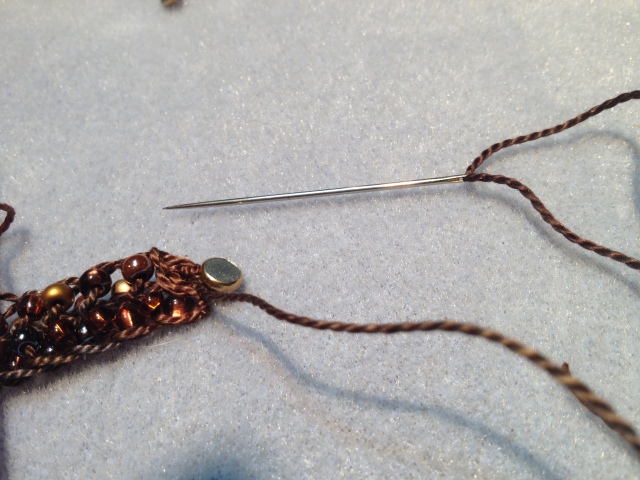
When you have reached your desired length, cast off all three stitches, cut yarn leaving a 6 to 8 inch tail. Use the sewing needle to attach the clasp with the tails, making 2 – 3 passes of the thread through the clasp. Tie a surgeon’s knot, trim the tails and add a dab of hypo cement to the knots.
Now wear that little purty to the next Christmas party!

